Making Your Own Pantry Staples: Pickling
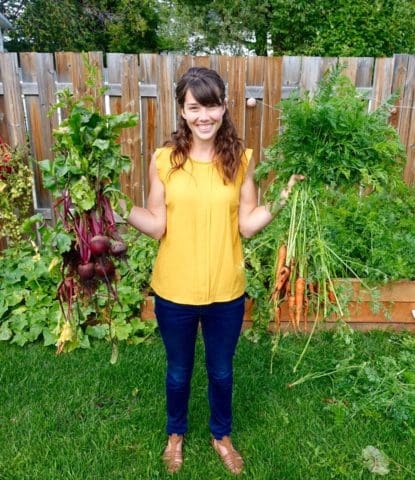
If you are at all a DIY type, you likely get great satisfaction from being able to make something from scratch or being resourceful with what you have. My grandparents were homesteaders, and some of the things that I research on the internet to do for fun, they did out of necessity. Pickling, canning, and putting up preserves definitely falls into this category. Growing your own vegetables over the summer, harvesting them, and then preserving them can save money, and it lets you control what ingredients are going into your food!
If you are going to do pickling or preserving, let me encourage you—it’s not difficult! However, there is some science behind it, so following a professional recipe if you are just getting started (like me) is your best bet.
The Two Primary Pickling Methods
When it comes to pickling, there are essentially two methods:
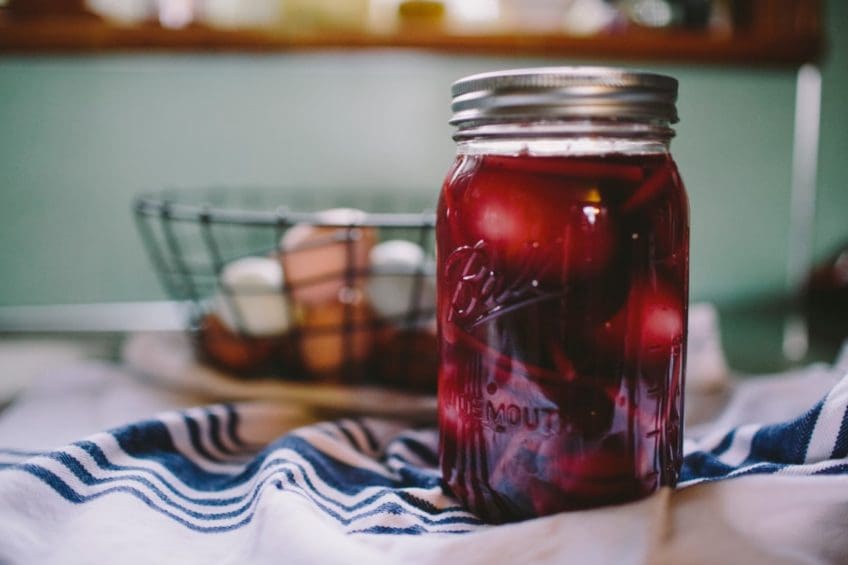
- Immersing food into an acidic solution to preserve it (like the classic dill pickle).
- Fermenting food by causing a chemical reaction between the food’s sugars and bacteria (like kimchi) Fermented foods have powerful probiotic characteristics because of this fermentation process, so they can be an excellent component to include in your diet.
Choosing Your Canning Ingredients
Whichever method you are using, ingredients do matter since we are essentially slowing down the decay process through a preservation method. Crisp fresh vegetables will make the crunchiest product. Vinegars should be at a certain acidity to be able to kill off bacteria and prevent spoiling (5% acidity is recommended). The type of vinegar will just depend on what flavours you want present—stick with a regular pickling vinegar to start! The salt used is also important. Regular table salt has components that will cause it to cake together and be cloudy. Use a pickling or kosher salt to avoid this. Even your water can have an impact, as hard water may make for a more cloudy solution, but it’s not harmful. Finally, choose whole, fresh foods to flavour your pickled product. Garlic cloves, fresh dill, whole cloves etc. all make for wonderful flavours.
The Timing of Good Pickling
And now comes the wait. Depending on the type of pickling process you used, the time until the pickles are “ready” may be a week to a couple of months. However, the longer they sit, the more sour they typically become. The salt/sugar content in the recipe may be important for controlling bacteria growth, so you can play with it a little if you find your product is too salty or sweet, but remember shelf life will be affected. Follow the instructions on your recipe and you are good to go!
A Few Tips from Experience
Whether it’s jams or pickles, here are a few hints that have made my life easier:
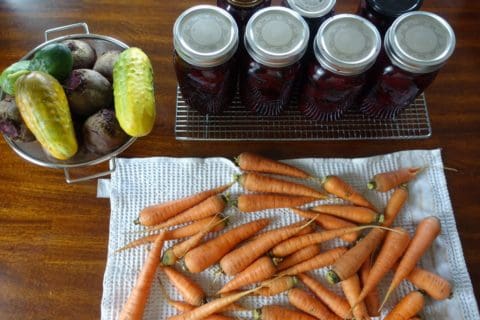
- Have everything ready to go before you harvest your food. Once you have your pickles/beets/berries picked and washed, preserve right away. This will create the best product. Fresh vegetables and fruit will quickly start to soften and break down, so plan ahead. If it’s not a good day for you, don’t pick them yet.
- GET BIG POTS. Yes, that pickling or canning stock pot may seem like it just takes up space all year long, but it will make your life so much easier if you want to get into preserving. I have often had out 3-4 medium size pots just trying to get my brine or pickling solution or all my fruits cooked and ready. Dishes for days. Properly boiling your jars after means they need to be covered in water for the sealing process to occur. If your jars don’t seal, keep them in the fridge and eat them quickly. If in doubt, throw it out.
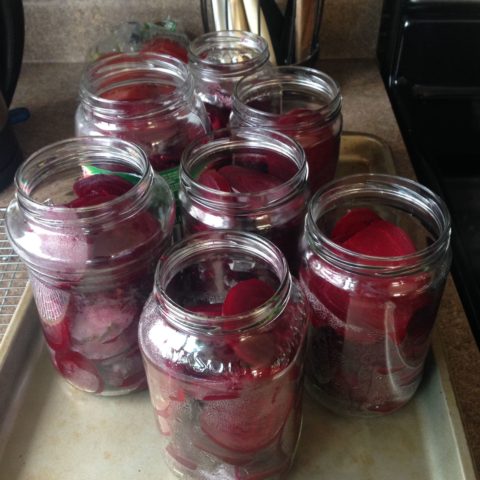
- Use wide-mouthed jars. Save these up throughout the year as you buy products, washing them and removing the label when you are done with them. These are awesome as wide-mouthed jars are MUCH easier to stuff or pour liquids or jams into than the tiny-necked jars. Mason jars are cute and all, but you don’t actually need them. Reduce, reuse, recycle!
Though there’s a science to canning and pickling, don’t be intimidated! If this is something new to you, start small with a jam or jelly. Get your berries from a U-pick or just fresh fruit from a grocery store. There truly is no replacement for homemade, and you’ll beam with pride when you serve that beautiful little jar!
Sources:
- http://www.foodandwine.com/vegetables/pickled-vegetables/science-vinegar-pickles-explained
- http://www.finecooking.com/article/the-science-of-pickles
By Raina Beugelink – Registered Dietitian/Nutritionist
Book an Initial Appointment